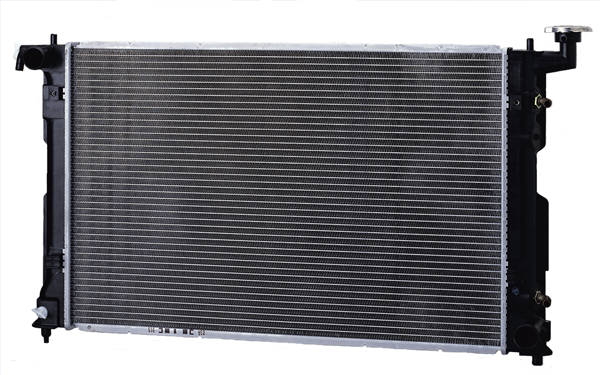
The radiator and cooling system is an essential part of the car’s beautiful engine and must be cleaned as well as the rest of the car. That’s why the radiator may be leaking excess sedimentation or even oxidation. The longer you use your vehicle without cleaning the radiator, the more likely you are to have a bad surprise, because as we said, cleaning the radiator is as essential as cleaning the rest of your car.
Radiator and cooling system, what is the link?
But first, it’s good to explain how the radiator and the cooling system are intimately linked. It is in fact thanks to the operation of the radiator that the cooling system can not only cool down but also keep a relatively cool temperature for the engine. After that, when we say that you have to clean it, it’s mainly that you have to maintain it once every two years or so.
Step 1: To clean your cooling system, get your gear together!
So first of all, get the right equipment. Gloves to protect your hands and skin, water (normal and distilled if possible), anti-icing agent, soap, a brush and a hose and don’t forget the funnel. Are you done? Then let’s move on to the first step. First step, turn off the engine and let it cool down. Indeed, you must clean the radiator when the engine is cold. Otherwise, beware of burns! Is it hot inside a car, do you know that? No, certainly not, you can’t teach an old monkey to make a face, after all. Well, the engine is cold, you can open the hood of the car, then the engine cover and it’s time to brush! Put on gloves, dip your brush in water mixed with soap and get your arms around cleaning the metal radiator grills. The residue, also known as sediment, will not stick and will disappear as you brush.
Step 2: Drain the radiator
Second, drain the radiator. That is, you need to put the drain strip under the radiator drain valve and pull it to the side to drain the coolant. Careful, you wretch! Don’t let it run into the wild! This one is toxic, so collect it in a bucket and remember to take it to the dump next time you go.
Step 3: Check your cooling system’s drainage strips
Third, you’ll need to cover the drain strips and check that the rings are properly holding the radiator hoses so that they don’t oxidize and the hoses don’t crack. Normally, you should find that there are two hoses. One for the coolant drained from the radiator and the other for the hot fluid.
Step 4: Flush the radiator
Fourth, flush the radiator thoroughly by filling it with water through a funnel. Then, after draining it again, pour in the new coolant with the funnel and mix it well. You should have 50% anti-icing agent and 50% distilled water in this mixture, ideally.
Step 5: Bleed the cooling system
The last step is to purge the system. Turn the ignition key and start the car and let it run for 10 minutes, this way the coolant will be warmed up and the air will come out of the radiator leaving no space for cooling. For environmental purposes, don’t run the engine for nothing, but instead, take the opportunity to go on a little errand to the supermarket about ten kilometers away. And there you have it!
Step 6: To avoid getting your hands dirty – contact your local garage 🙂
Finally, you will have understood, it’s a lot of work, and moreover, mistakes or oversights are quickly made.
To avoid unpleasant surprises and to avoid getting your hands dirty, make an appointment with your favorite recommended CAA garage. So, thanks to whom?


